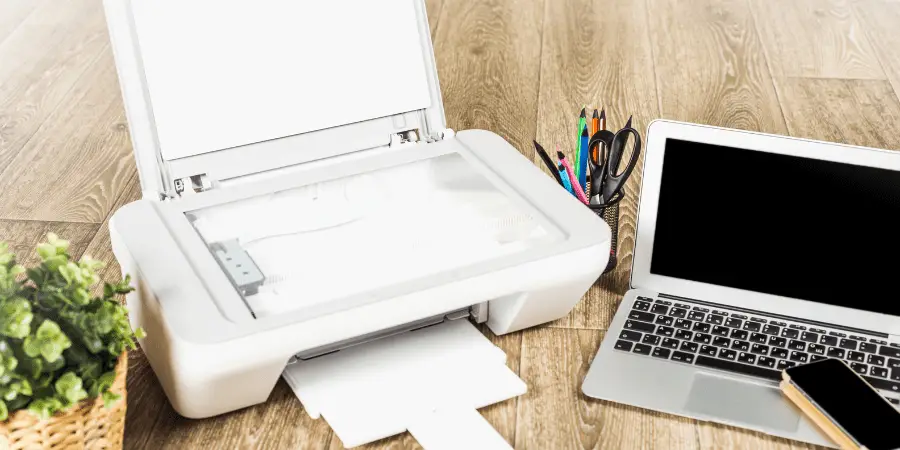
There are two methods for connecting your printer to your laptop: through cable or wirelessly.
For both methods to work properly you need to download and install the required software/drivers to run the printer smoothly on your laptop.
- First, Download & Install Canon Printing Software.
- Open your internet web browser.
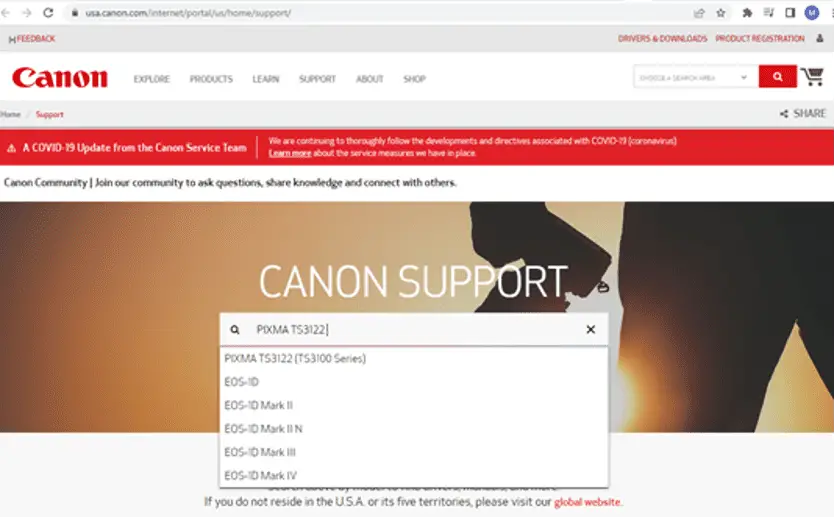
- Go to usa.canon.com/internet/portal/us/home/support and type printer model name in the search box.
- Select the model and you will be directed to Drivers and download the page.
- Download and install the drivers that are compatible with your printer model.
- Now open the downloaded file and complete the required steps for installation.
- After successful installation of driver software, your laptop is now ready to connect to the printer.
Connection Via USB cable
- First, Completely turn off the Canon printer.
- Connect one end of the USB cord to the printer and other to the laptop.
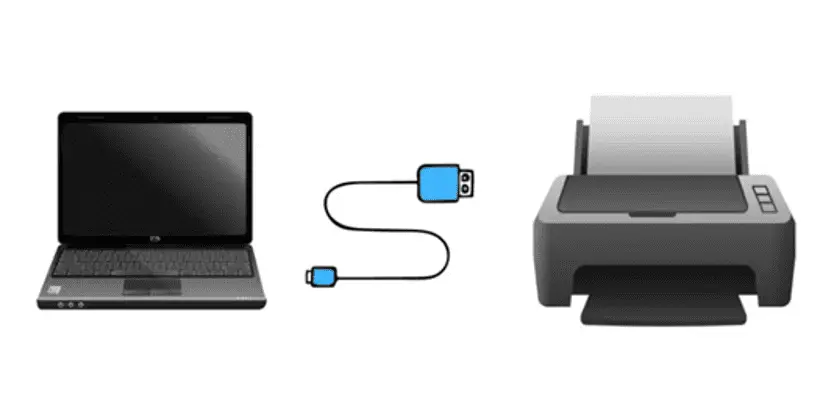
- Turn on the printer and click the start menu on your laptop.
- Select the control panel and go to ‘hardware & sound’ option.
- Now click on ‘printer and devices’.
- Choose “Local Printer” under the “Add a Printer” menu option.
- Next, your printer will automatically detect by windows, select your printer.
- Click finish.
Benefits of a Wired Printer
- They can connect with your Laptop without using Wi-Fi or Bluetooth.
- A good USB cable will do the trick; no special cable is required for installing the printer with your laptop.
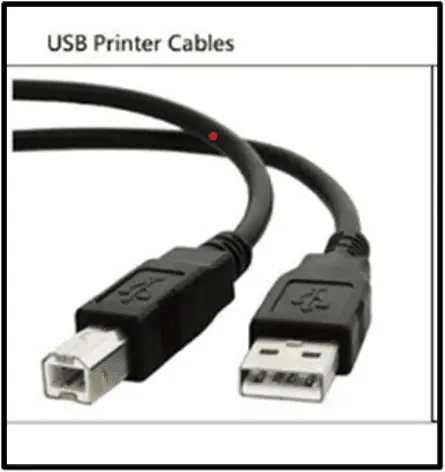
- In comparison to a wireless printer, they are simpler to install.
- A wireless printer stops working if a network distortion occurs. However, this is not the case with wired printers.
- With a wired printer, data transfer is significantly simpler and quicker.
How to Connect Canon Printer to Windows laptop (via WiFi)
- First, confirm that your wireless router is available and properly set up as well as your laptop is connected to the network.
- Make sure your Printer is plugged in and turned on. Green light next to the power button will be lit up when the printer is on.
- Next, check if the green light is flashing and press the stop button.
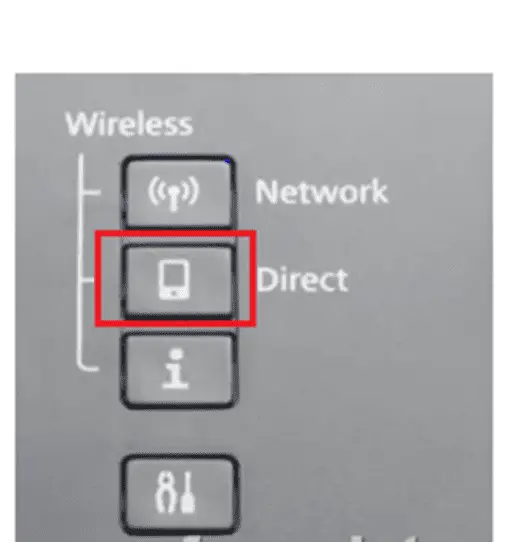
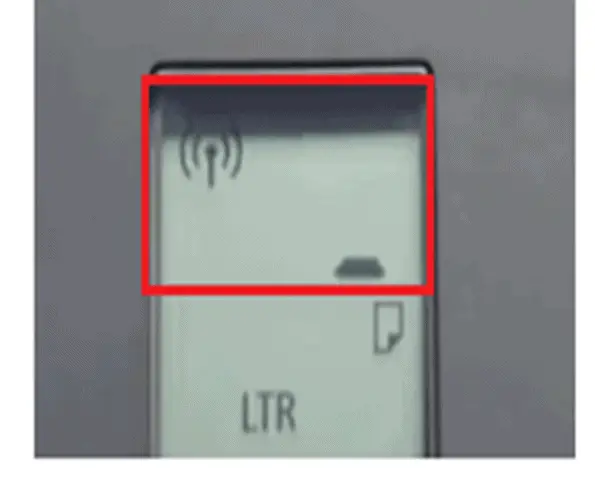
- Press and hold the direct button until the icon starts to flash. Printer is now entered into the easy wireless connect mode.
- Next step is to install the software. This can be done through inserting CD-ROM that came with your canon printer or download the installation files by visiting “ij.start.cannon”
- To start the installation process. First Open the downloaded file. Click on Start setup.
- Then select your country name from the list and click next.
- Click Yes on the license agreement tab.
- The extended survey program screen will appear. Cannon uses these survey programs for the development of its products. If you want to participate in survey programs click agree, else do not agree to continue.
- If you have security software in your laptop you may see the Firewall Setting screen. Just Check mark the “deactivate the block” and click next.
- Click yes on the Check the connection Method screen to continue.
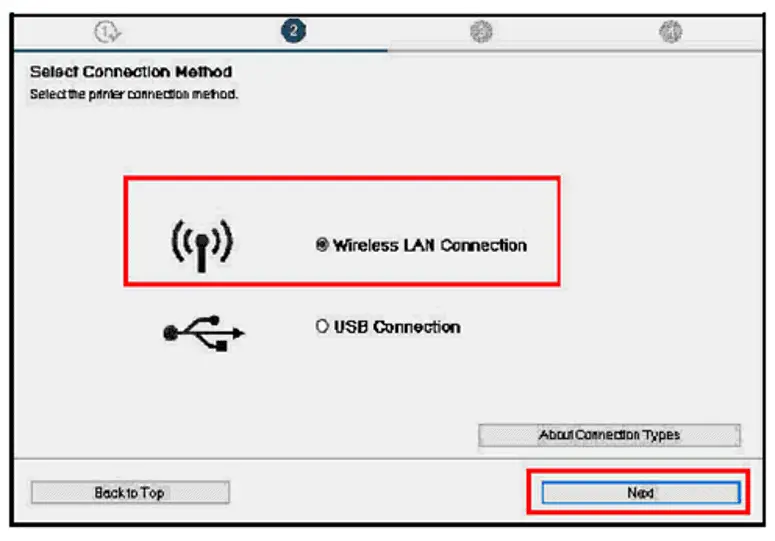
- Select your wireless network and enter password, then click next.
- When the ‘Connection completed’ screen appears, click next.
- Now drivers will automatically begin to install and may take a few minutes. Load plain A4 size paper into the printer and click Print head alignment, then click start.
- Now press start to take a test print if you want and click next.Your canon printer is now connected.
- Click next to install the final remaining softwares. Then click Exit to complete installation.
Connect Canon Printer Via Bluetooth
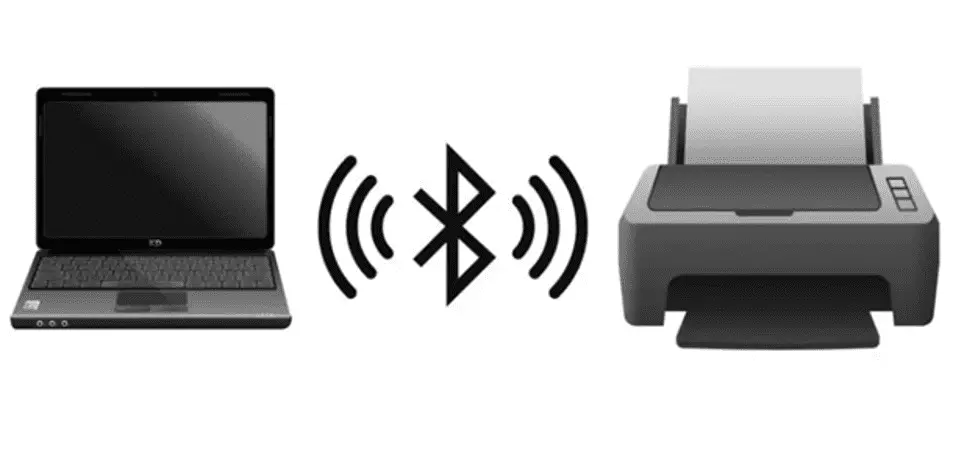
- First, Turn on your Canon printer first.
- On the printer’s top right side, press and hold the Wi-Fi button until it begins to flash.
- Go to Settings > Devices > Bluetooth & Other Devices on your Windows 10 laptop.
- Enable Bluetooth, then select “Add Bluetooth or other device” from the top menu.
- Select ‘Bluetooth’ and pick your printer’s name from the list.
- Press done in the end.
Connect Wireless Canon Printer to Mac Computer
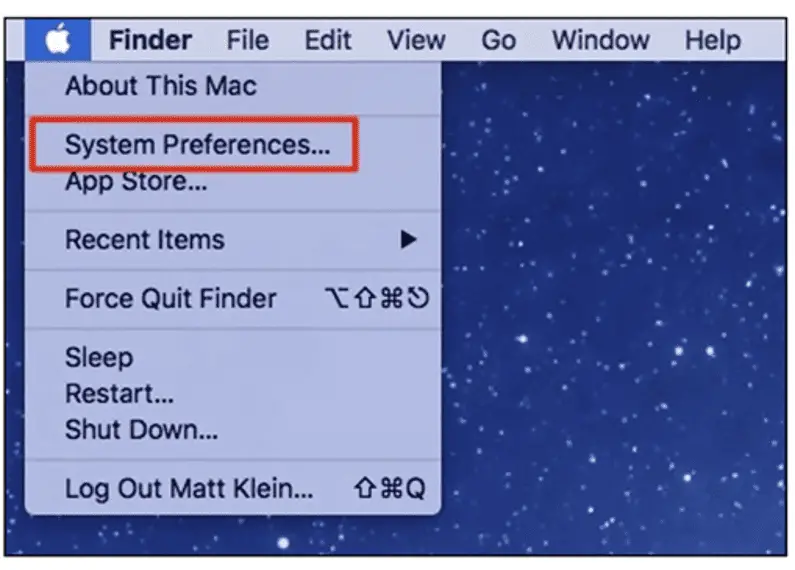
- Click on the Apple logo and a drop down menu will appear.
- Select ‘system preference’ among the options.
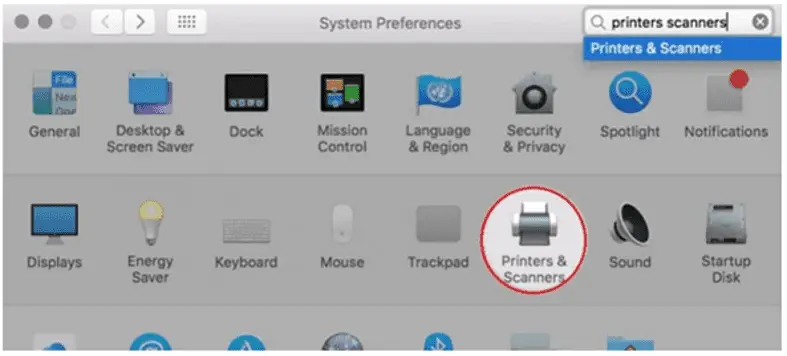
- Click ‘Printers & scanners’.
- Click plus sign (+), if your printer is connected to the network it will appear on the left side of the window.
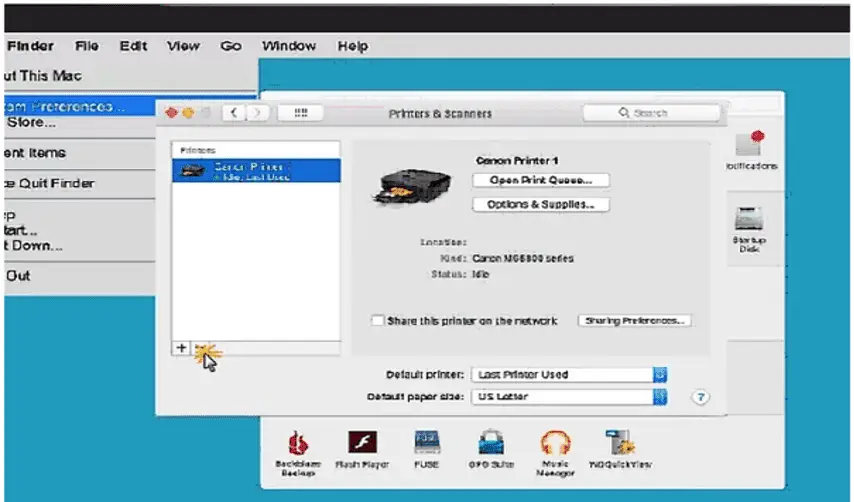
- Now click on your printer’s name and the printer will be connected to your Mac.
Common Connecting Issues with Canon Printer
Cables & Connection Problems
The USB cords are the source of the most frequent problem that everyone faces. It’s possible that your cable is not connected correctly or that the connection is loose and you are unaware of it. So make sure that all cables are linked to the system and that the connections are secure.
Networking Issues
Sometimes your windows or Mac laptop may encounter connecting issues and you aren’t able to install a canon printer in your laptop. So in order to avoid this problem, make sure that your printer and laptop are connected to the same network. Additionally, restart your computer at least once.
Drivers & Software Issues
Make sure the printer driver is updated. Because sometimes just updating the software will fix these problems.
- While Using Wireless LAN, I Cannot Find My Printer
- Ensure that the printer is powered on.
- On the touch screen, look at the Network Status icon
- Confirm that the printer setup is complete.
- Confirm that the network settings on your wireless router and printer are similar.
- Ensure that the printer is not positioned too distant from the wireless router.
- On the touch screen, check the signal quality.
- Ensure that the computer is linked to the wifi connection.
Read more from Quora, Free Printer

